I also went over HDR lighting or High Dynamic Range lighting which essentially calculates the light intensity of a scene without limiting the intensity range and saves it in a format that allows these kind of shenanigans. Then before the scene is rendered, the light is tone mapped, meaning that the intensities are are scaled down to within the range which the monitor or TV being used is capable of. This technique is essentially how you make bloom!
 |
| No, not that kind of bloom!! |
 |
| There! That's the stuff!! |
This time around I'll be going over a class of lighting called Image-based Lighting. But why is it called image-based lighting, you ask? That's because all the techniques essentially use pictures to create additional features to an object or scene.
One problem with highly detailed models is that their high amount of polygons can take up an awful lot of processing power when it come time for the scene to be rendered, and that's because the more polygons a object has the more calculations are needed for that object. This can really slow down the frame rate (This is the amount of pictures shown in certain amount of time) which can turn your video game into a slideshow. One way to keep the frame rate to nice and high is to make use of low polygon models but of course the problem with that is that they look...uhh
So how does one use the low polygon model while maintaining the detail of the high polygon model? With the use of normal maps of course! But what is a normal? A normal is a vector that is perpendicular to a surface or another vector(s). These normals are used in calculating how light will react to a given polygon. So one can use the normals of a high polygon model (which have many more normals than the low polygon model) to generate a normal map which is essentially a texture that represents the normals in a grey scale gradient. Applying this texture to the low poly model essentially gives the impression that low poly model has many normals, this can make the effect of a flat surface look curved.
Another really useful technique is called specular mapping. This technique essentially makes an object or scene look reflective or glossy. It does this my applying the mathematical equation:
Ks = How reflective object or scene is
R = Direction of reflected light vector
V = Direction of Observer
alpha = the power of the specular reflection
With the use of this equation and just three line of code you can make your object or scene as shiny as you want. But of course all things in moderation.
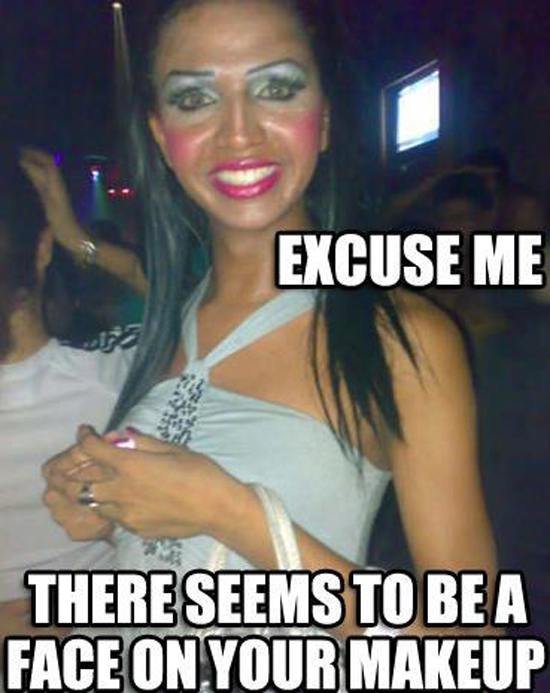
Though things in reality are not usually all covered in shininess.
So, in order to control the amount of specular parts of an object one uses a specular map which stores the values of "Ks" for each texel (texture unit) of a texture map. With this, one can create localized reflective surfaces and mimic streaks of sweat or blood.
In the end these techniques help to create q more immersive and interesting world which we would rather live in than reality cause lets face it sometimes games are just too beautiful.
Ks = How reflective object or scene is
R = Direction of reflected light vector
V = Direction of Observer
alpha = the power of the specular reflection
With the use of this equation and just three line of code you can make your object or scene as shiny as you want. But of course all things in moderation.
Though things in reality are not usually all covered in shininess.
 |
| usually |
In the end these techniques help to create q more immersive and interesting world which we would rather live in than reality cause lets face it sometimes games are just too beautiful.
sources
Gregory, Jason.Game Engine Architecture. Boca Raton: CRC Press, 2009.
Gregory, Jason.Game Engine Architecture. Boca Raton: CRC Press, 2009.


No comments:
Post a Comment